There are many examples of material connections on the walls and shelves of the KPU Sculpture Studios. Many more have been built and discarded or removed. In fact, it could be argued, that there has been something to be learned from every project that has been started here!
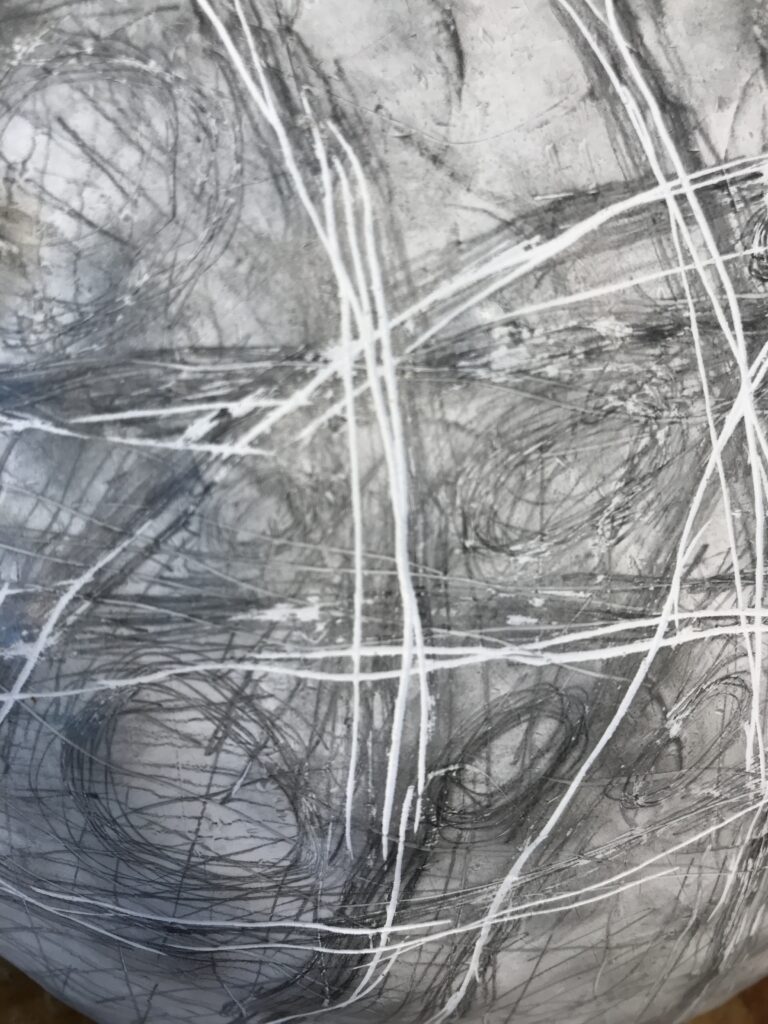
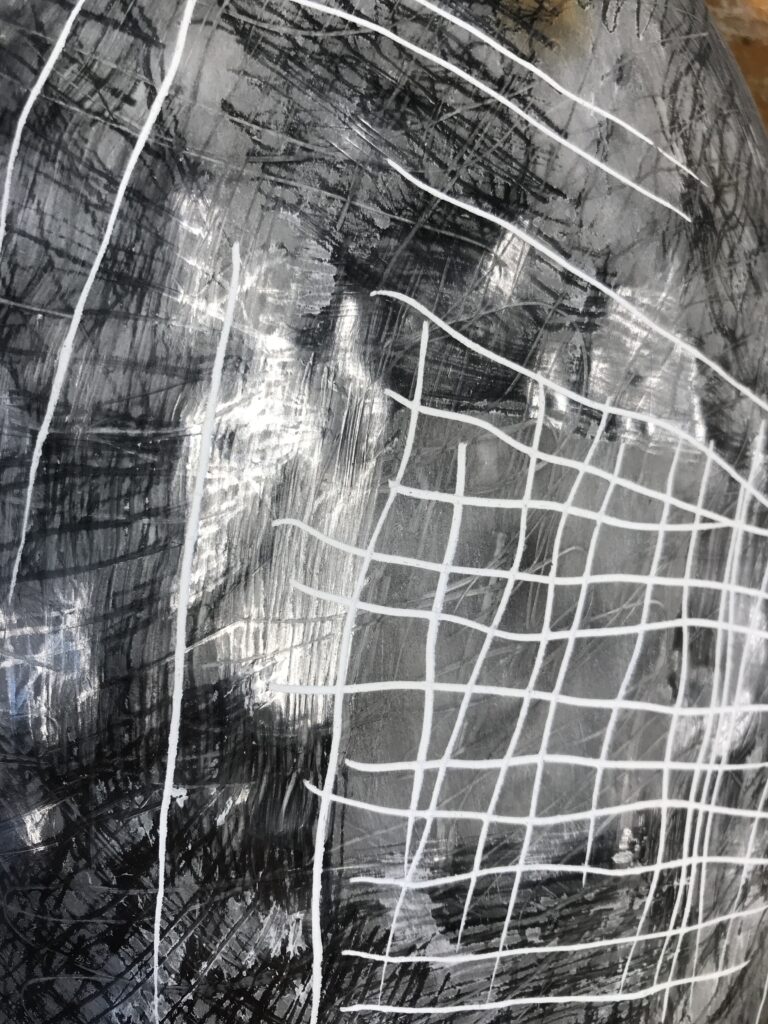
After you have cast a form in plaster one surface treatment that grows directly out of your drawing experience is the use of pencils. Not only does plaster take a graphite line very readily, but smudges can darken the entire surface. Scratching the surface with a nail will produce a white incised line (real texture).
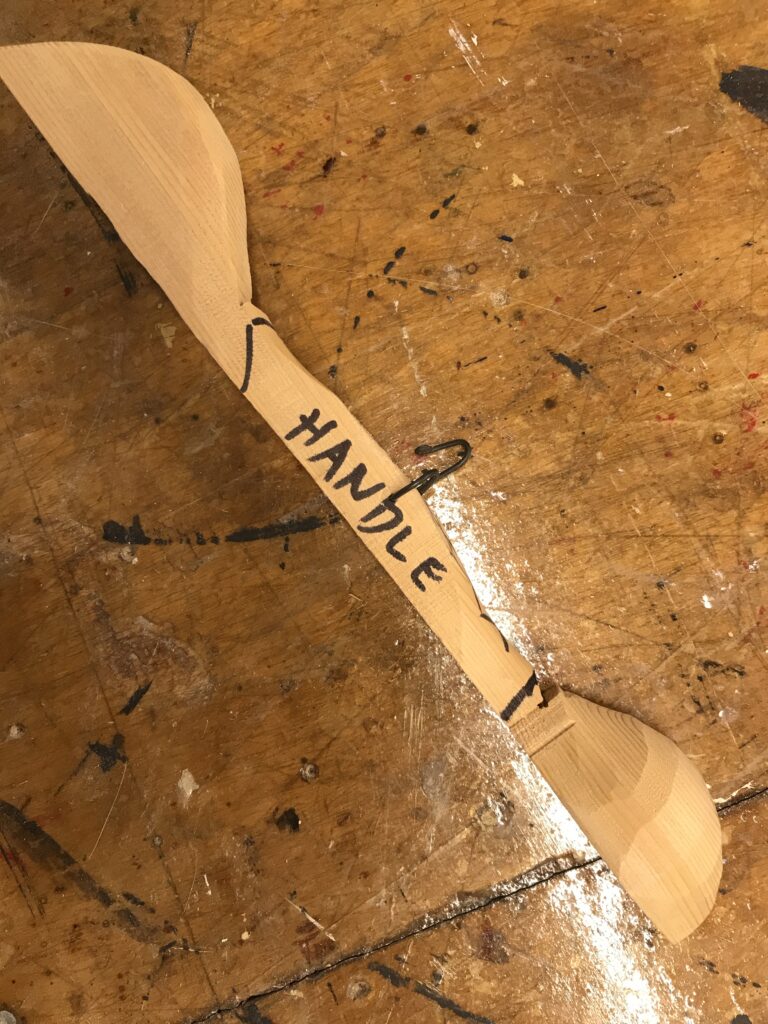
When carving it is helpful to leave the piece you are working on extra large. That is to say it has handles to hold on to while you work on it. These are the last parts to be removed.
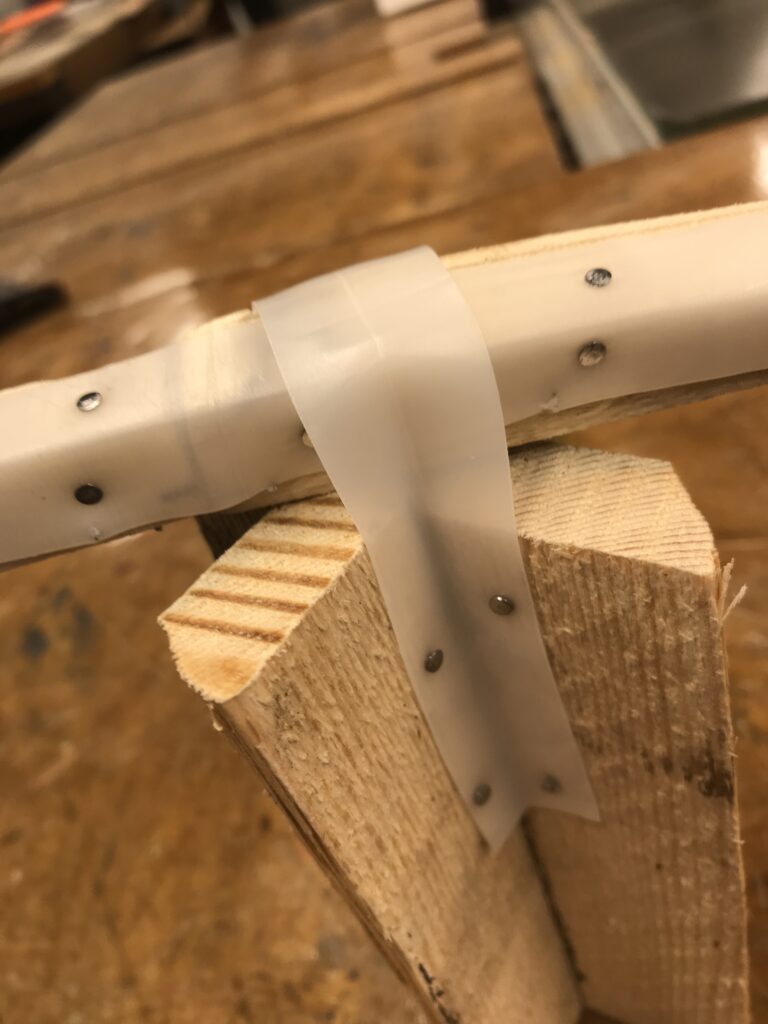
This unusual looking connection was fabricated from wood, nails, and plastic strips cut from drink bottles.
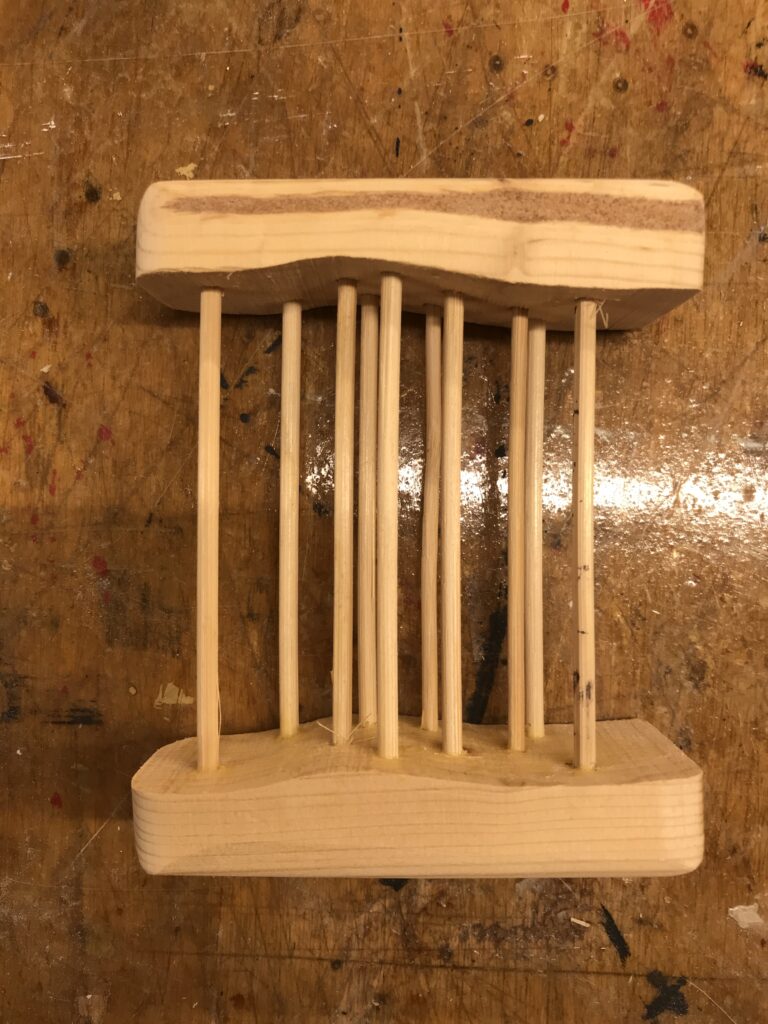
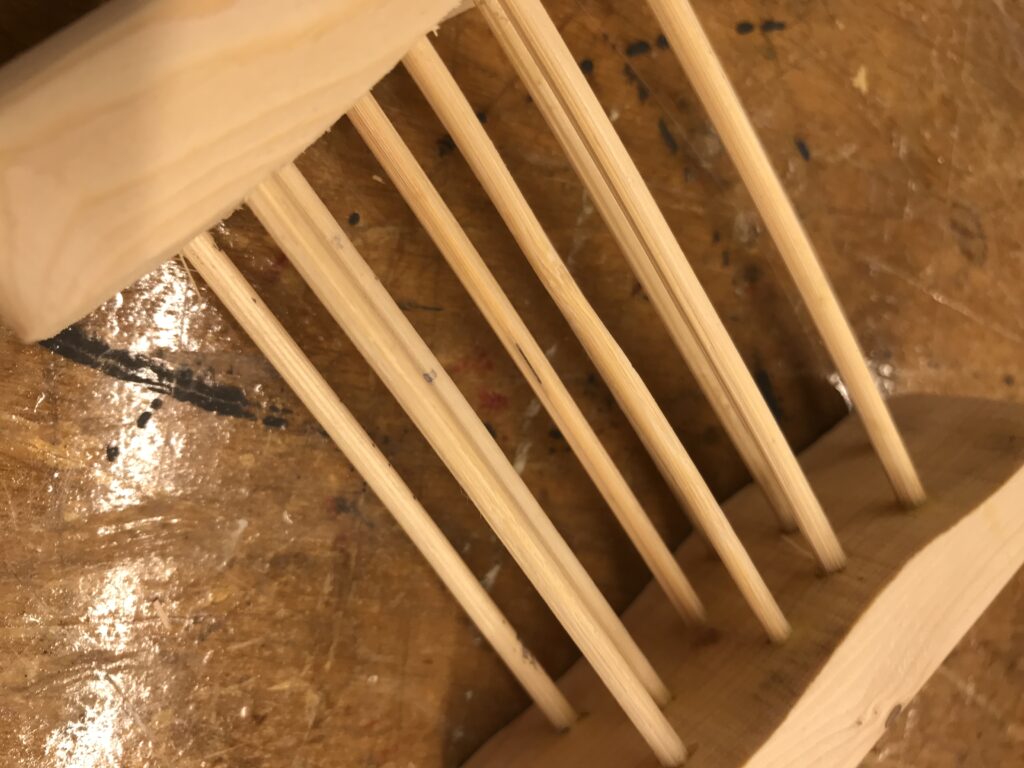
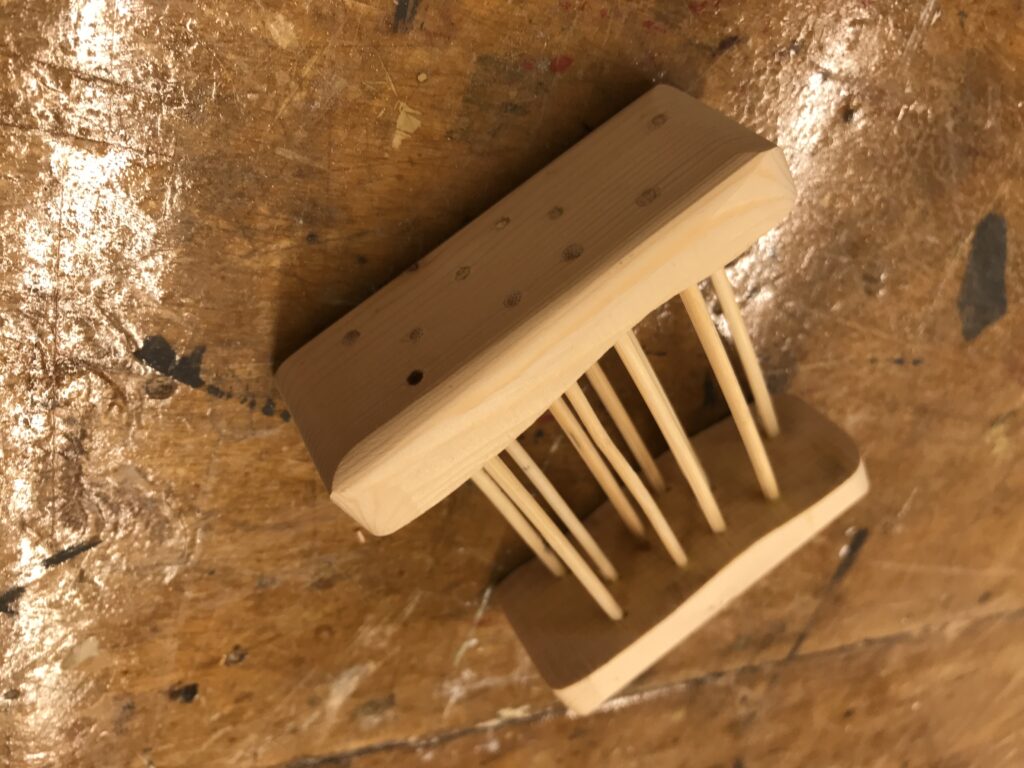
In order to get all these skewers to line up (producing parallel lines) the end pieces were through drilled while they were still one piece. Then the wavy line was cut on the band saw before the skewers were inserted.
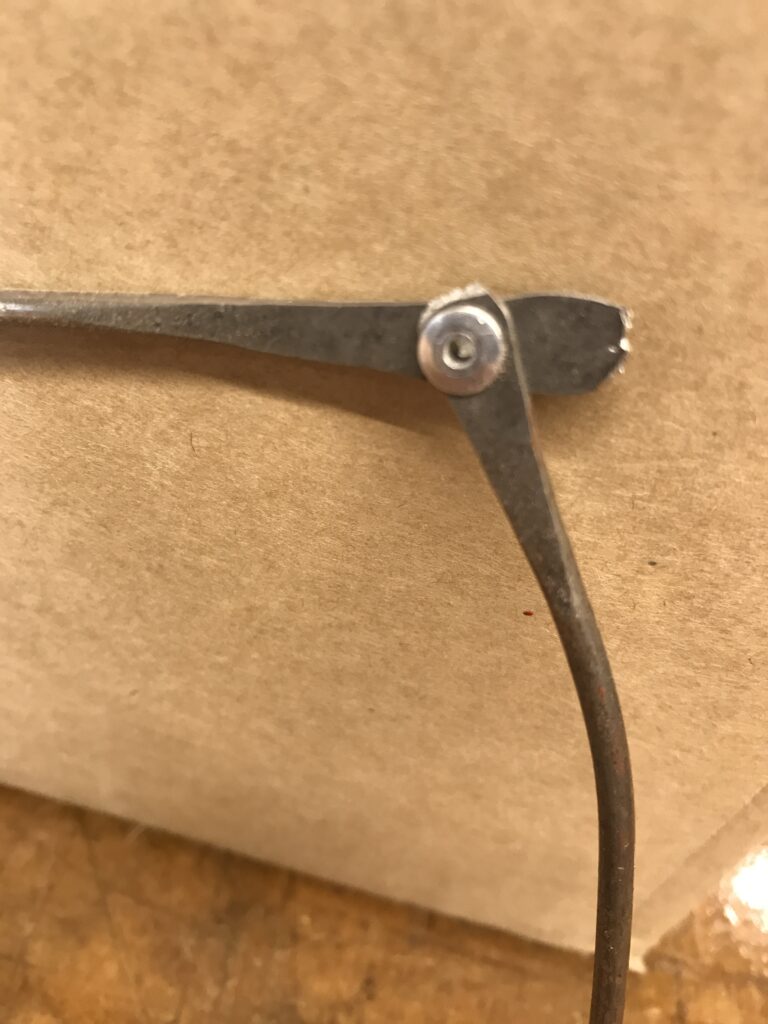
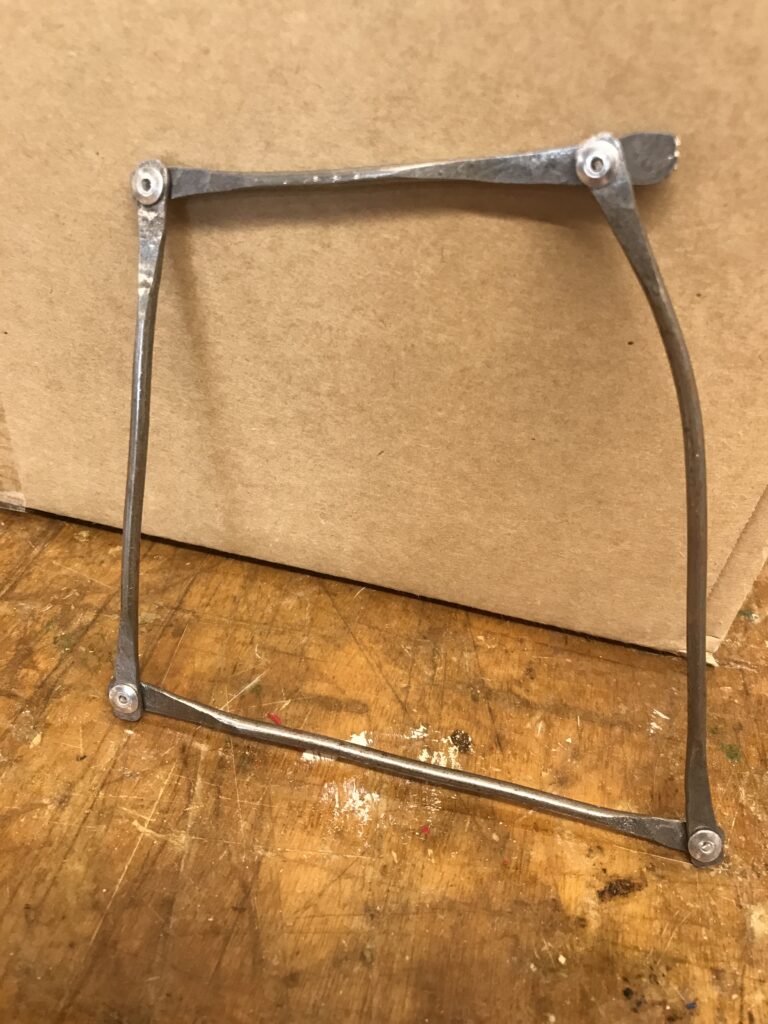
This rod was hammered on an anvil as flat as sheet metal, then punched (drilling is also possible) then riveted together. Single rivets can also function as pivot points, or hinges.
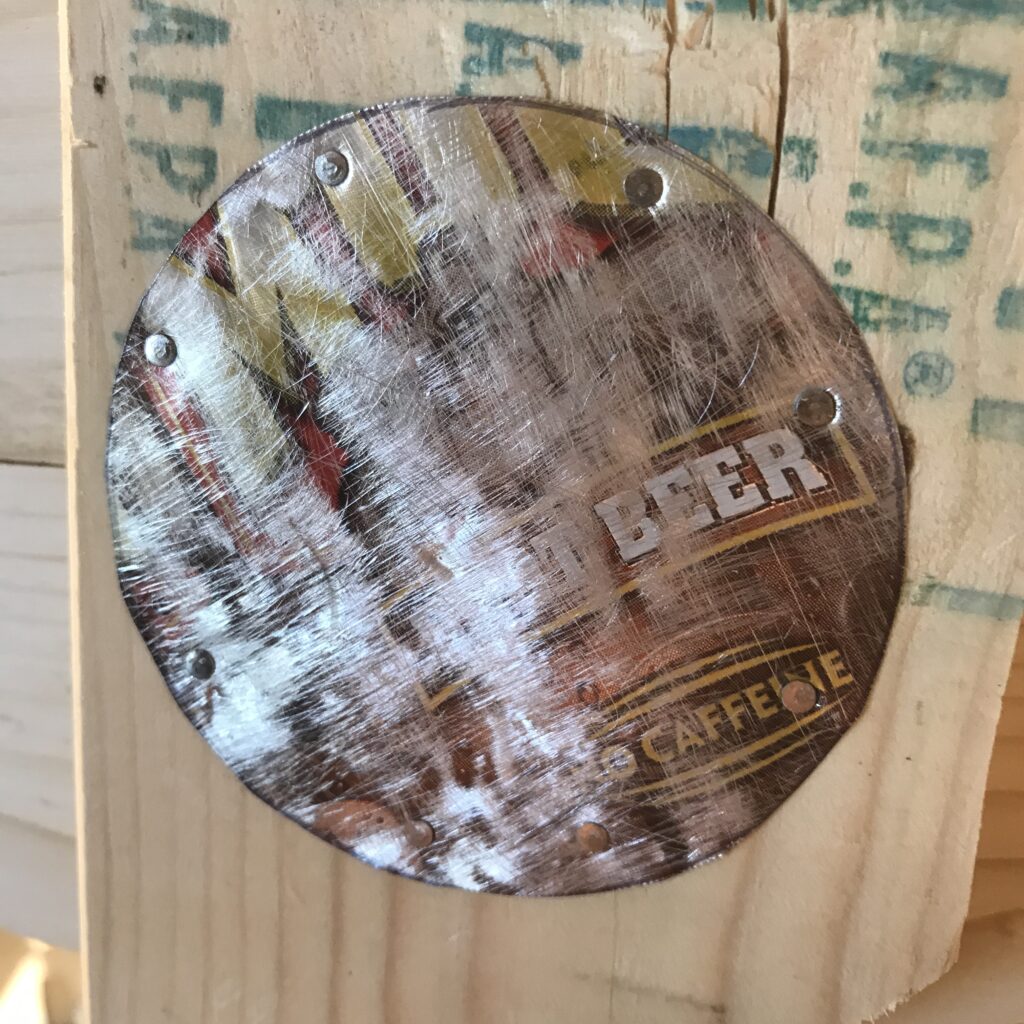
This Root Beer can was cut out with a mat knife and a pair of scissors. The surface has been distressed and scratched up with steel wool and nailed on to a piece of pallet wood. The preexisting labels add some colour.
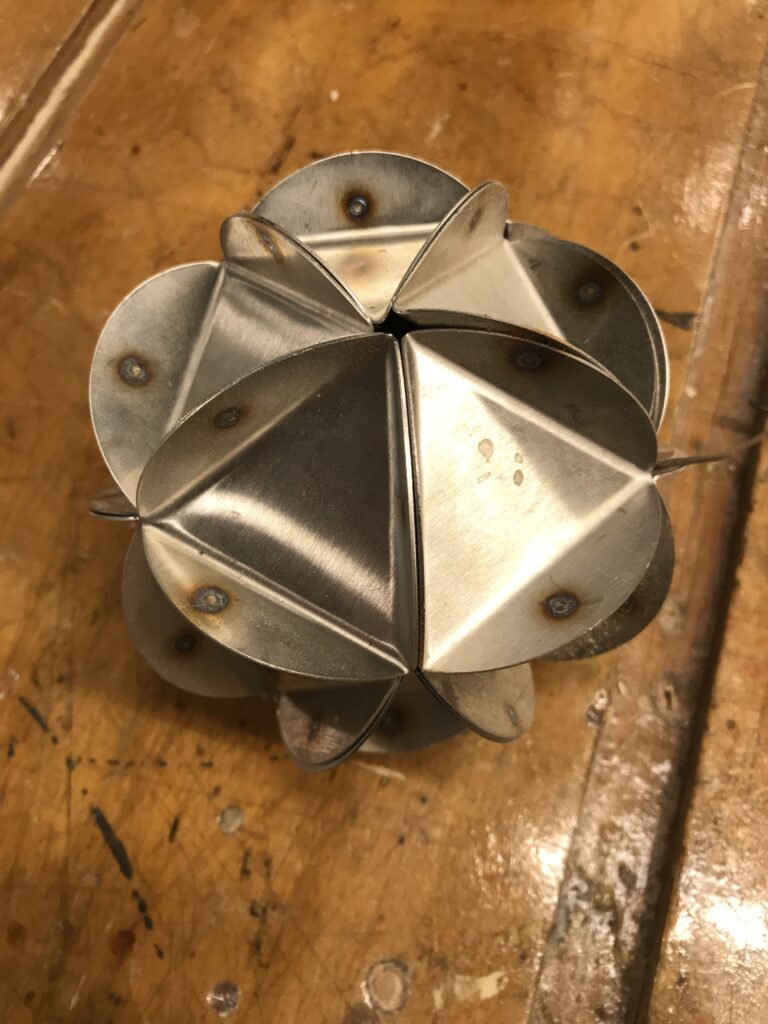
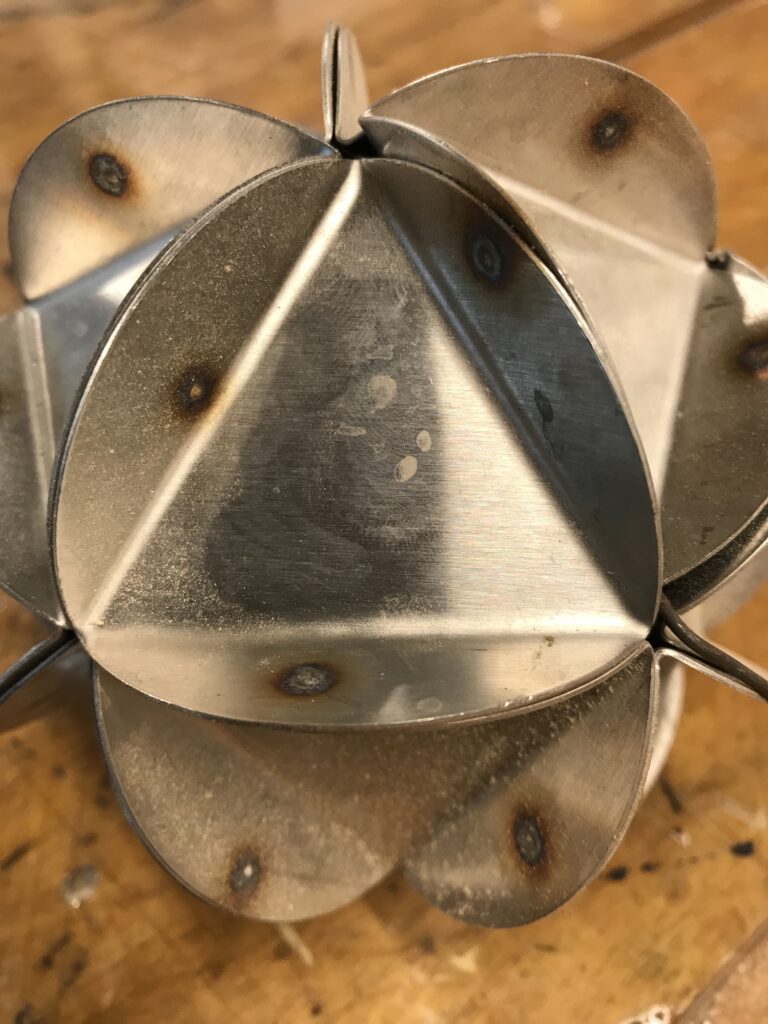
A bucket of circular stainless steel pieces were donated to the sculpture department. These were leftovers from a factory that punched holes in sheet products. I always encourage students to save their offcuts. At least until you’ve finished the project they are from. In this case the offcuts were stainless steel circles – all the same size. I inscribed an equilateral triangle on a circle, then bent the outside parts up to an angle approximating HALF of the DIHEDRAL ANGLE (138.19/2=69.095ish degrees) of an Icosahedron. This presented flanges that could be spot welded together on the outside – i.e. where you can get at them.
This is a project that is great for honing your accuracy, as every “error” will be multiplied and magnified at least five-fold!
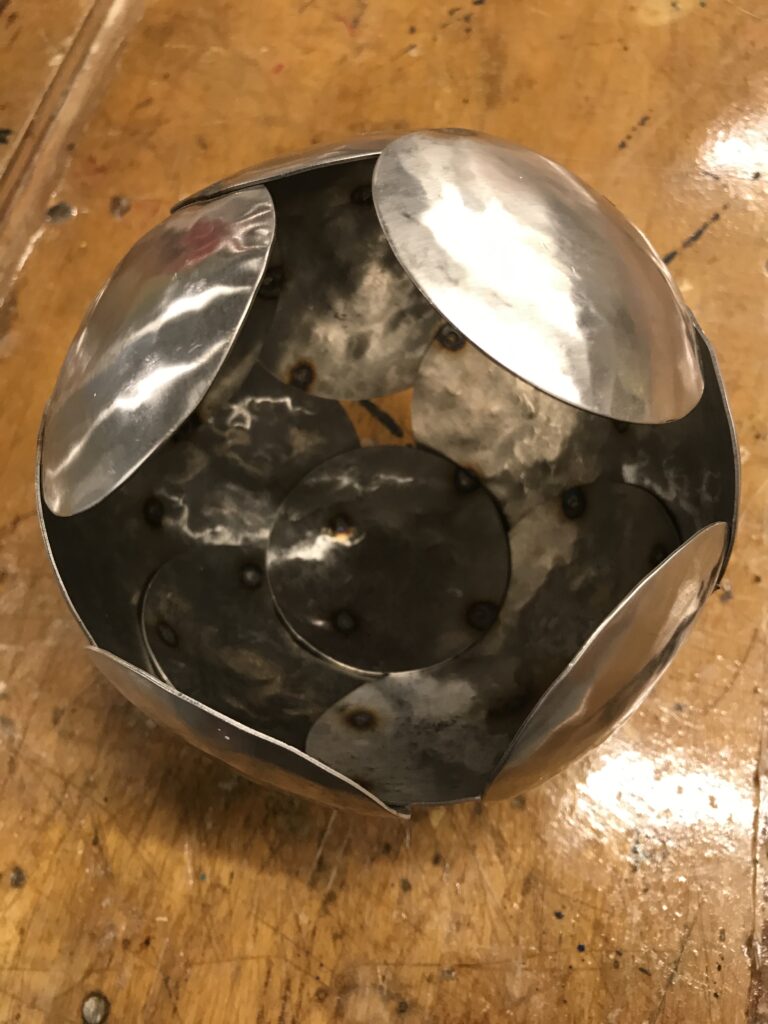
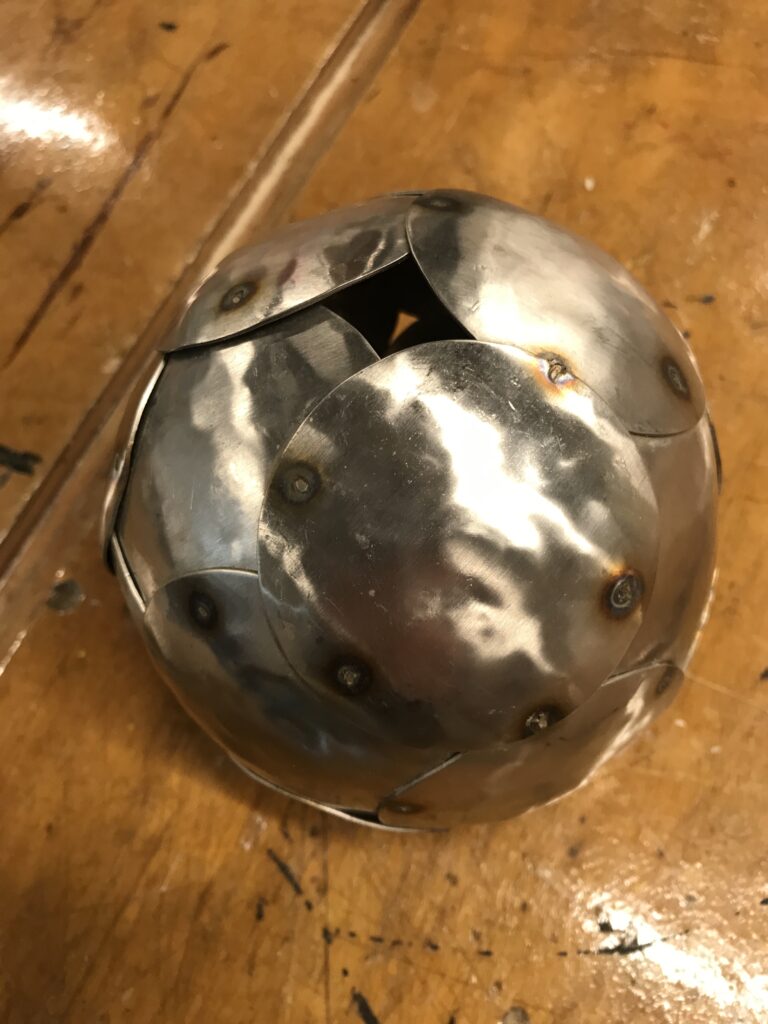
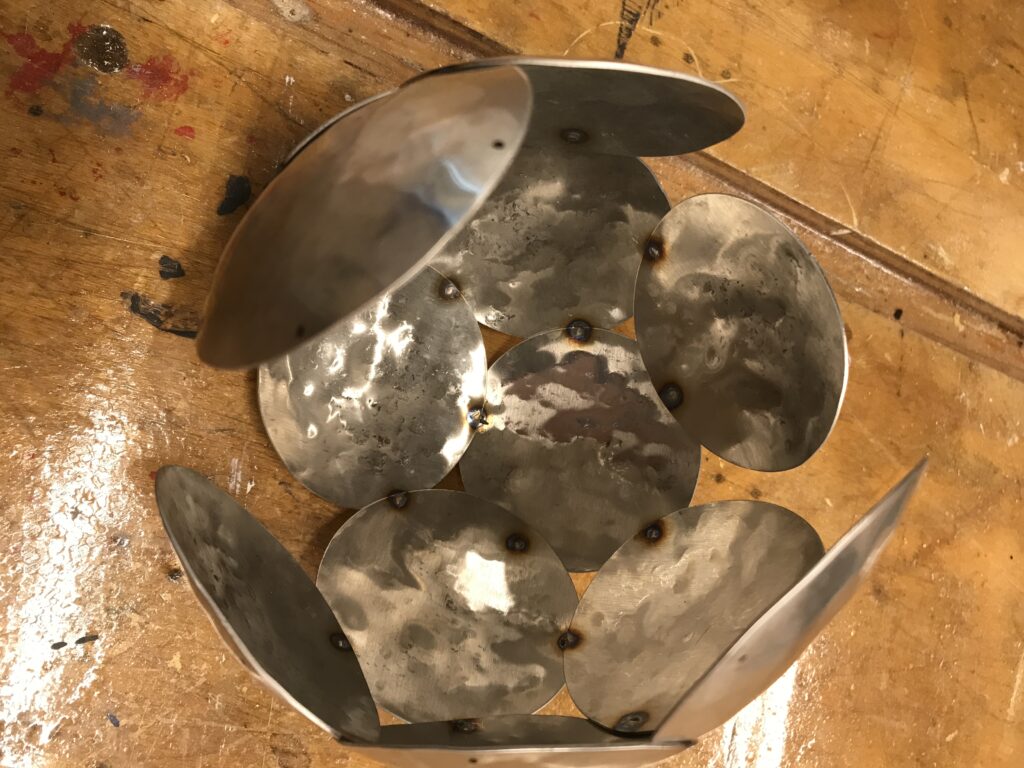
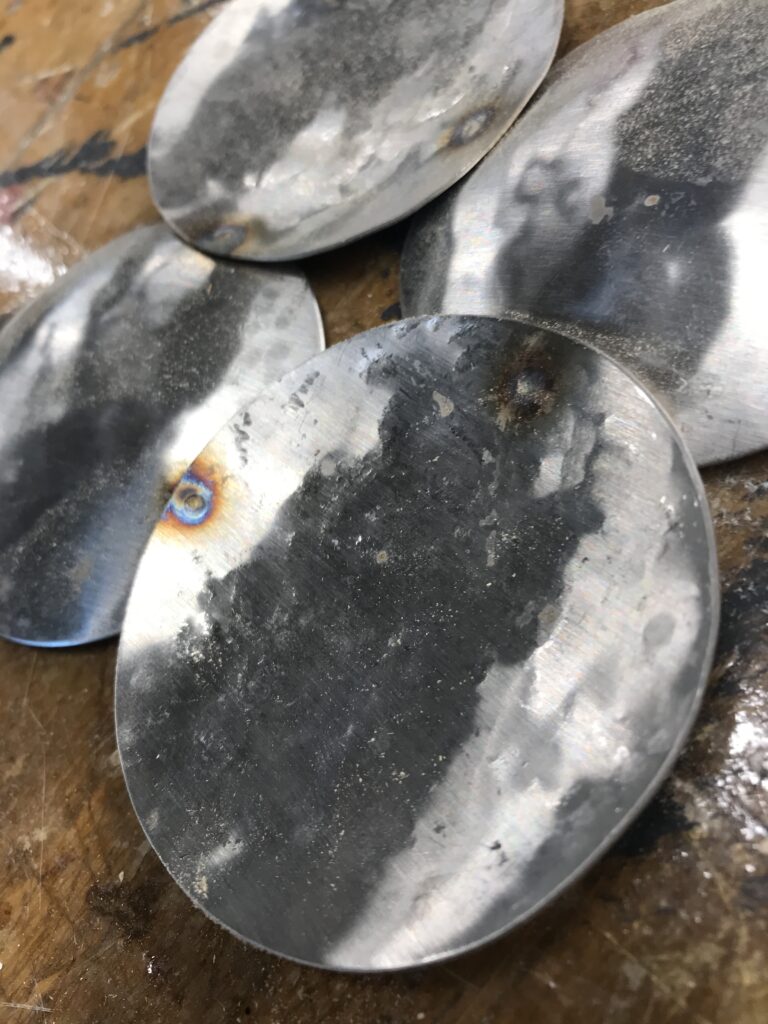
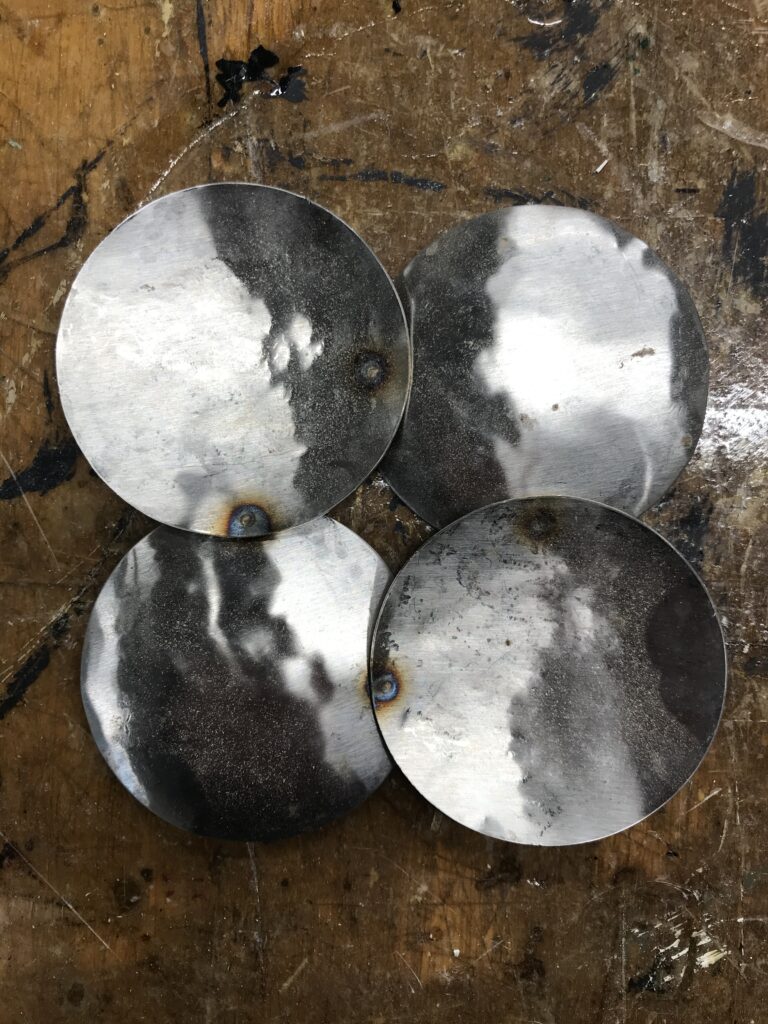
Another thing that can be done with Stainless discs is hitting them with a ball peen hammer until they are dished. Most of these examples are rather lumpy to illustrate the point that the number of times you swing the hammer is optional and entirely to taste.
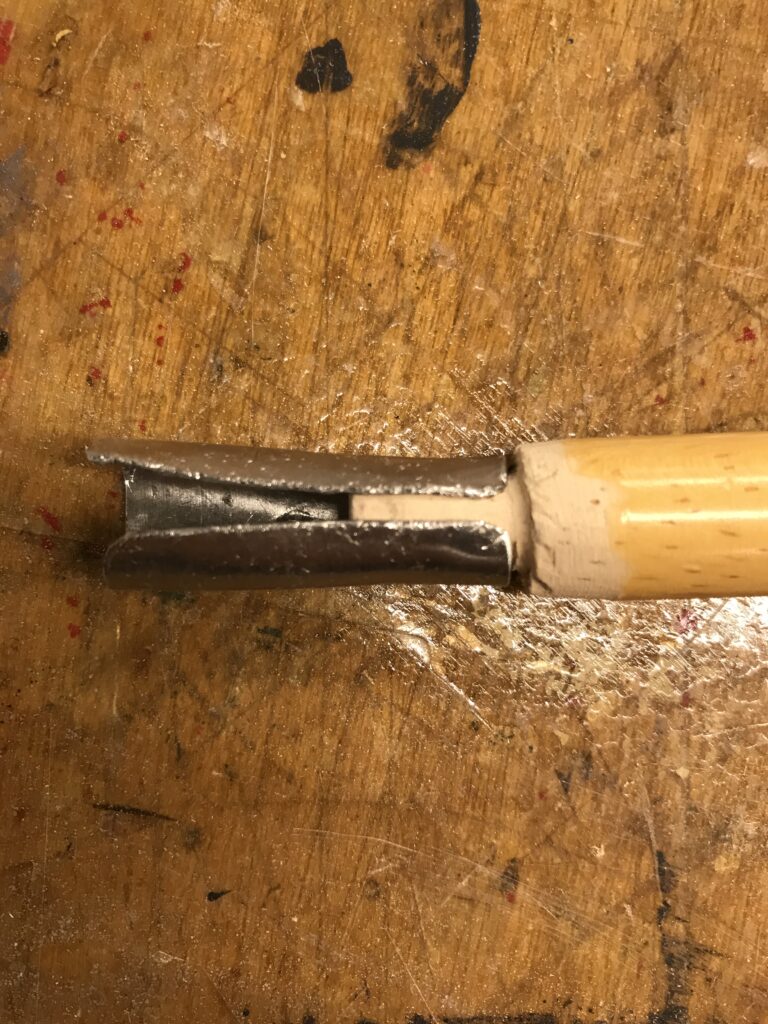
In this example the end of a wooden dowel is carved down to roughly match the thickness of the sheet metal that is rolled to roughly match the diameter of the wood after it has been carved down to…
In practice the diameter of the carved end can be measured and multiplied by PI to give you the length of the sheet metal which can be bent repeatedly in a vise with the encouragement of a ball peen hammer. With a little practice you can reduce the size of that gap if it bothers your aesthetic sensibilities. The last squeeze of the vise (or hammer blow if you prefer) is done with the wood installed. Be gentle now, it’s wood!
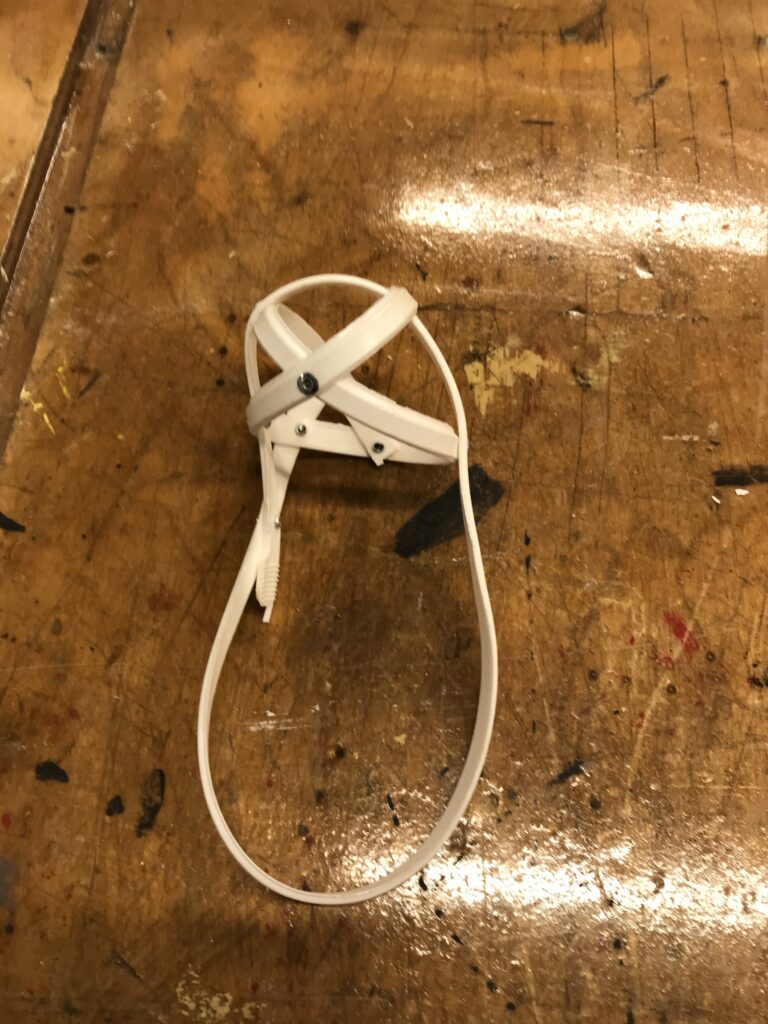
This exercise started with a long strip of plastic – the part of a paint bucket that is normally discarded immediately. Then – in keeping with my oft-repeated dictum “Don’t throw away the offcuts!” – I twisted it up and punched 1/8″ holes at the intersections. I then used short rivets to bind it at the intersections. It looks kind of like a crude basket. It’s hollow nature suggest this technique could be used to wrap one material with another without falling back on using glue